How to Change Servers in Dead by Daylight
Dead by Daylight, the asymmetrical online multiplayer survival horror game, has captured the hearts of players worldwide with its intense, adrenaline-pumping gameplay. The thrill of the chase, whether as a survivor or a killer, has led to a global player base, supported by numerous servers deployed by the developers. However, for various reasons, players may find themselves needing to change servers, which can result in connection issues or significant lag. This article will share how to change servers in Dead by Daylight and secure a more stable server connection.
- Why Change Servers in Dead by Daylight?
- How to Change Dead by Daylight Server Regions?
- Another Way You Can Try
- Dead by Daylight Server Location
Why Change Servers in Dead by Daylight?
Players might need to switch servers in Dead by Daylight due to server congestion, downtime, network fluctuations, or to play with friends in different regions. Changing servers offers several benefits, including:
- Improved Connection Stability: Choosing a server closer to your geographical location can reduce ping and improve game response times.
- Better Gaming Experience: Avoiding congested or malfunctioning servers can lead to smoother gameplay without frustrating interruptions.
- Cross-Region Play: Changing servers allows you to join friends from different parts of the world for an enjoyable multiplayer experience.
How to Change Dead by Daylight Server Regions?
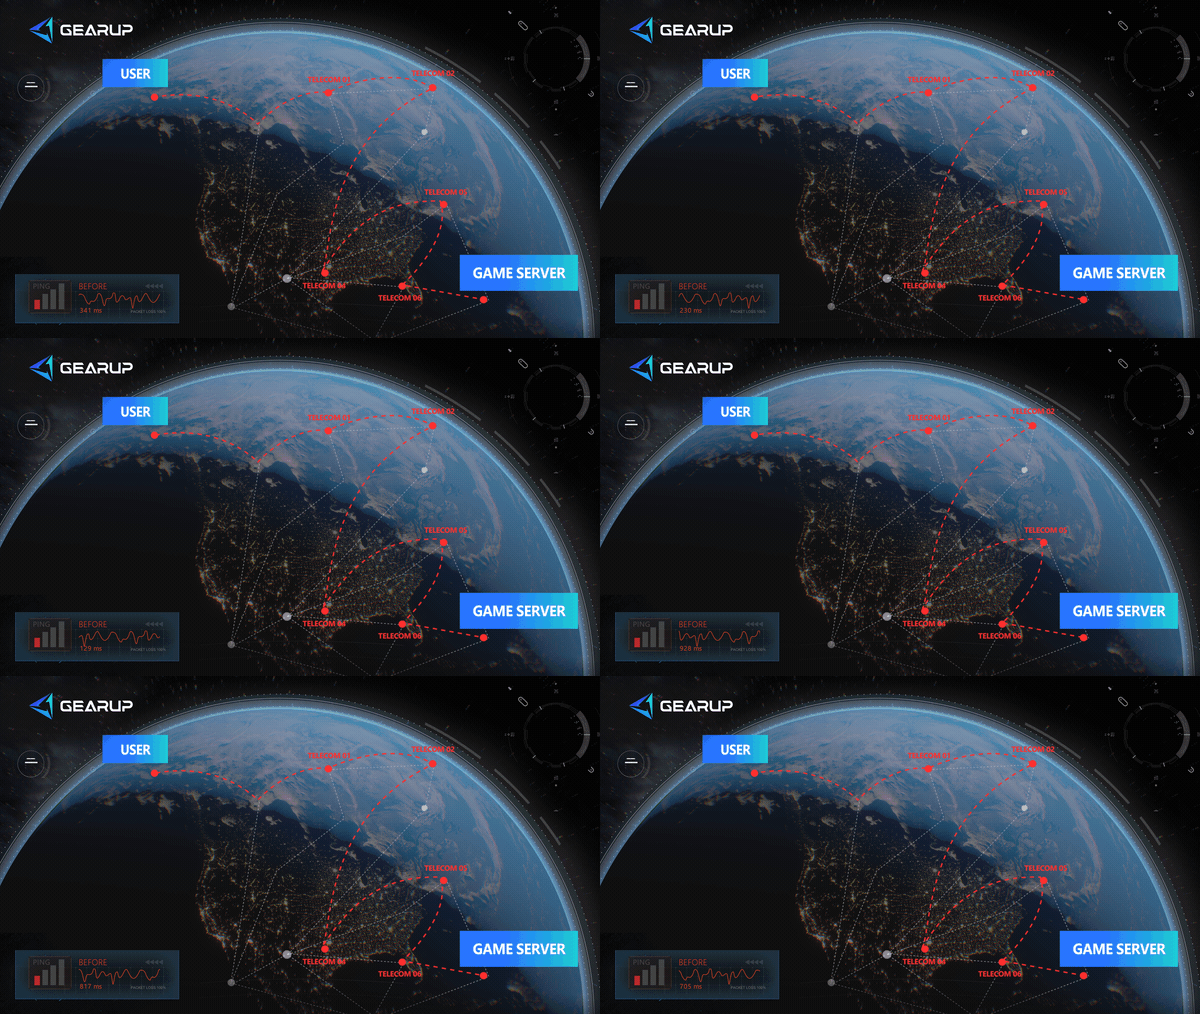
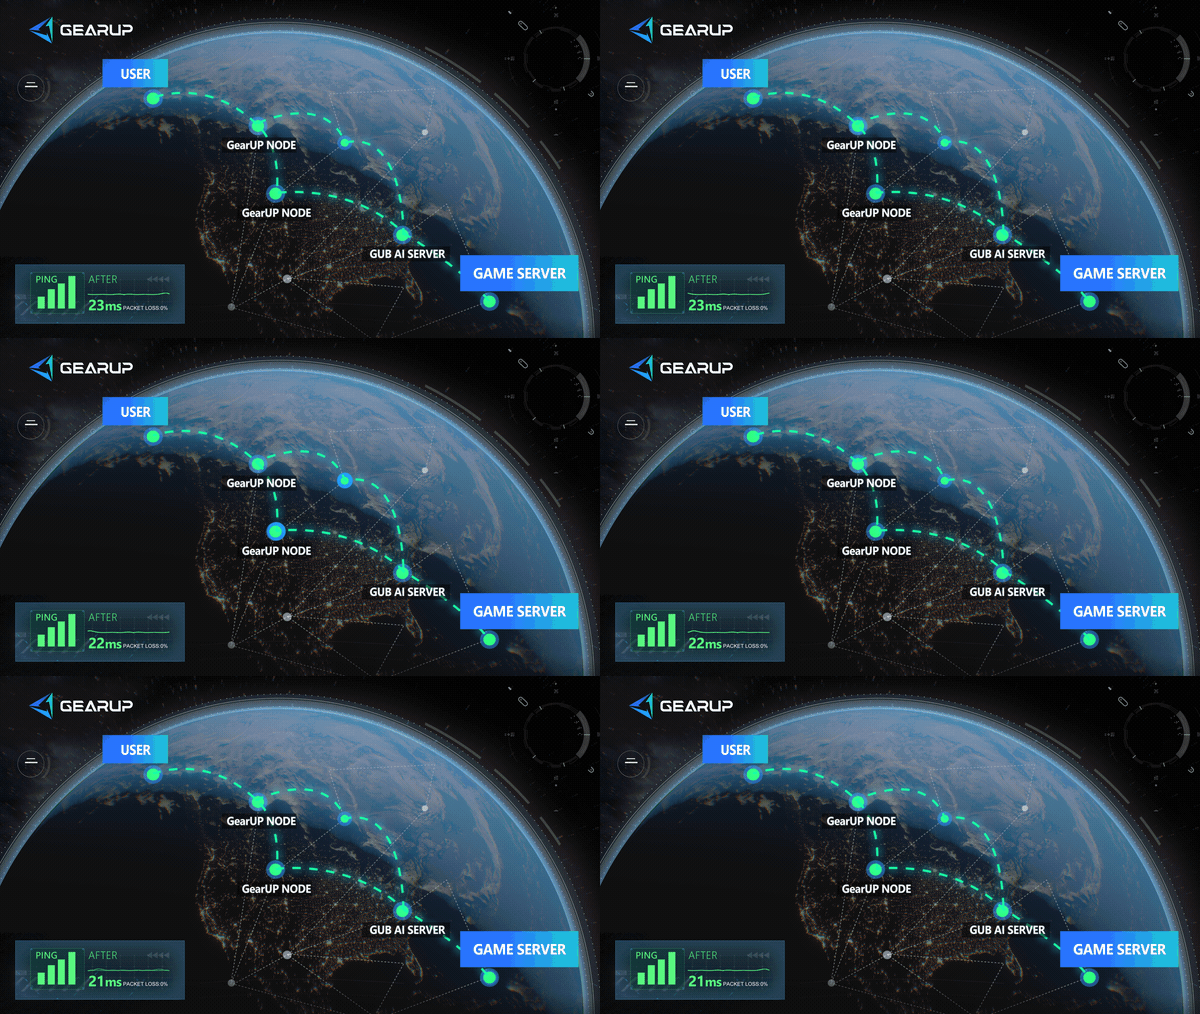
Currently, Dead by Daylight no longer offers a direct method to change servers and instead matches players based on their IP address. Therefore, you need to use an accelerator like GearUP Booster to assist you. While traditional VPNs may also work, they can affect the network usage of other programs. In contrast, GearUP Booster is different—it can target specific games exclusively. Leveraging intelligent multi-path routing and a global network of nodes, it dynamically helps players switch Dead by Daylight server regions in real time while minimizing latency. For players who frequently need to switch servers, its user-friendly interface proves highly practical.
Step 1: Click this button to download GearUP Booster.
Step 2: Search for Dead by Daylight.
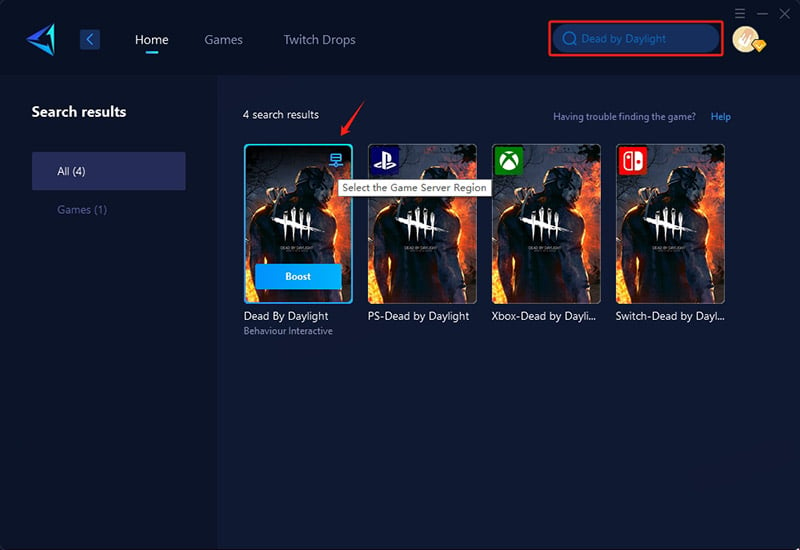
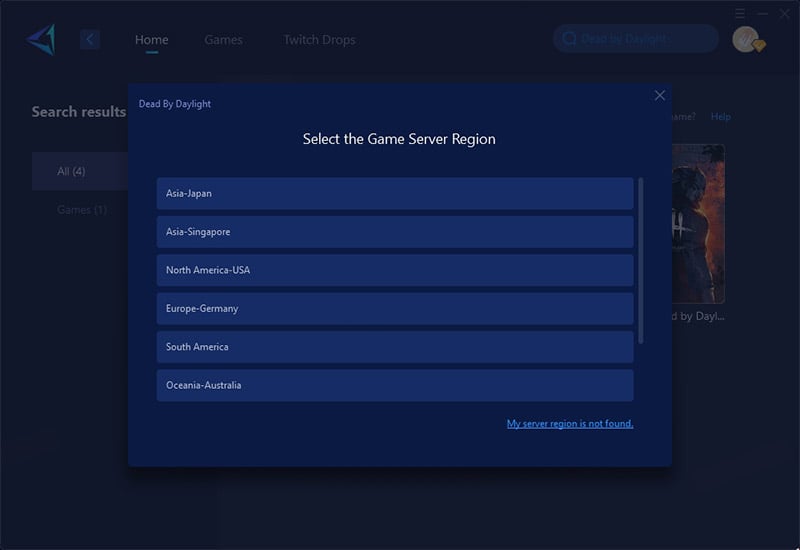
Step 3: Choose your server—you can connect to global servers worldwide.
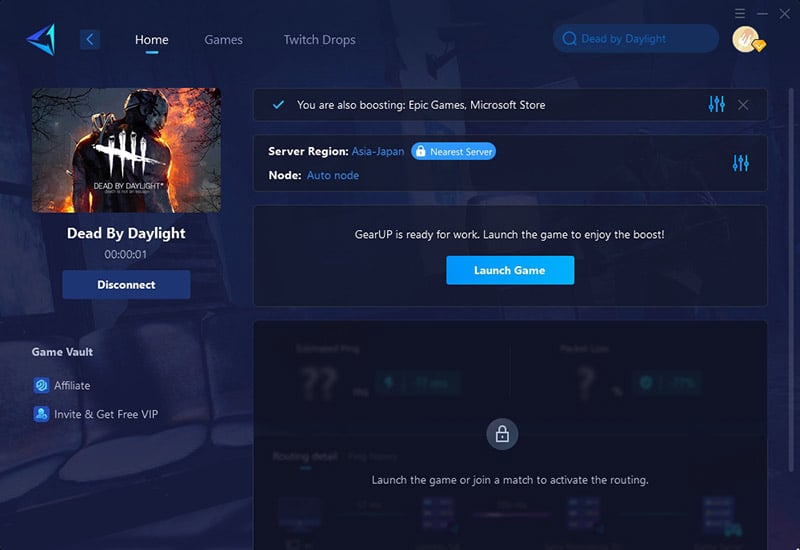
Step 4: Click "Boost", launch Dead by Daylight, and you'll see optimized ping, packet loss, and other detailed stats.
Another Way You Can Try
You can also try modifying the Steam download region to potentially influence the server location, but as mentioned earlier, the server is primarily determined by your IP address, so this method may not always be effective:
- Open Steam and navigate to Settings: Click on "Steam" in the top-left corner of the client, and select "Settings" from the dropdown menu.
- Go to the Downloads tab: Find the "Downloads" section on the left side of the settings window.
- Change your Download Region: Look for the "Download Region" option, and select a region closer to where you want to connect. For example, if you want to play with friends in Europe, you might select a European country as your download region.
- Restart Steam: Close and reopen Steam for the changes to take effect.
- Launch Dead by Daylight: The game may now connect you to a server in the region you selected.
Dead by Daylight Server Location
North America (NA)
- United States (East & West)
- Canada
Europe (EU)
- Germany (Frankfurt)
- United Kingdom (London)
- France (Paris)
Asia (AS)
- Japan (Tokyo)
- Singapore
- Hong Kong
South America (SA)
- Brazil (São Paulo)
Oceania (OCE)
- Australia (Sydney)
Under normal circumstances, Dead by Daylight will automatically match you to the nearest server to ensure all players get a more stable connection and lower ping.
Conclusion
If you want to change the server region in Dead by Daylight, there is currently no official method available. Therefore, we highly recommend using a game booster instead, as it is simpler, more effective, and can further improve gameplay smoothness. We hope every player can enjoy the best possible experience.
About The Author
The End
