OpenWrt Plugin Installation Guide
Note: Before proceeding with the following steps, ensure that your computer is connected to the network of your OpenWrt router.
For more information about OpenWrt, visit the official website: https://openwrt.org/
Step 1: Connect to the Router via SSH
1. Power on your computer and connect it to the network of your OpenWrt router using either an Ethernet cable or Wi-Fi.
2. Press the "Windows key + R key" on your keyboard, then type in "cmd", and press the Enter key to open the command prompt window.
3. In the Command Prompt window, type the command "ipconfig" and press Enter to get the IP address of the router.
- Locate the IP address of your router. It is typically labeled as "Default Gateway." For example, if your Default Gateway is 192.168.1.1, then your router's IP address is 192.168.1.1.

4. Still in the command prompt window, type the “ping Router IP” command and press the Enter key to check if you can communicate with the router. (Please replace "Router IP" with the actual IP address you found in step 3, such as 192.168.1.1)
5. Still in the Command Prompt window, type the command "ping routerIP" and press Enter to check if you can communicate with the router. Replace "routerIP" with the actual IP address you found in step 3, such as 192.168.1.1.
- If you receive replies from the router, as shown below, it indicates a successful connection to the router.

6. Still in the same Command Prompt window, type the command "ssh root@routerIP" and press Enter. This will establish an SSH connection to the router. Replace "routerIP" with the actual IP address you found in step 3, like 192.168.1.1.

7. The system will prompt you to enter a password. Enter the password for the router and press Enter.

Step 2: Install the Plugin
In the SSH command-line interface, follow these commands in sequence:
1. wget https://download.booster.gearupportal.com/guplugin-script/202211251220/install.sh

2. /bin/sh install.sh openwrt $(uname -m)
Note: If 'sn=' is displayed, it means that the installation has been successful

3. opkg list-installed kmod-tun
Note: Execute this command to check for the presence of the kmod-tun module, if it's present, skip steps 4 and 5

4. opkg update

5. opkg install kmod-tun

6. ls /dev/net/tun
Note: Run this command to check if the tun module is available. If it's not, you'll need to install it separately or consider using a different firmware version
- Below is a screenshot showing the presence of the tun module

- Below is a screenshot indicating the absence of the tun module

Step 3: Install router plugin on app
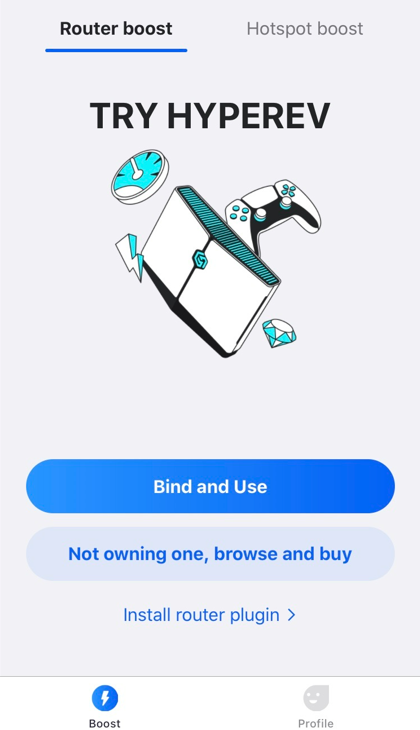
1. Download and open the "GearUP Console Boosterr" app

2. click on "Install router plugin".
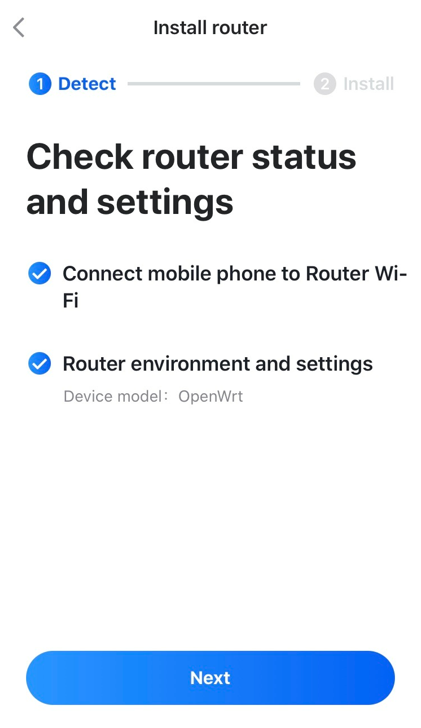
3. If the binding is successful, both of the following verifications will succeed. Click "Next" to continue.

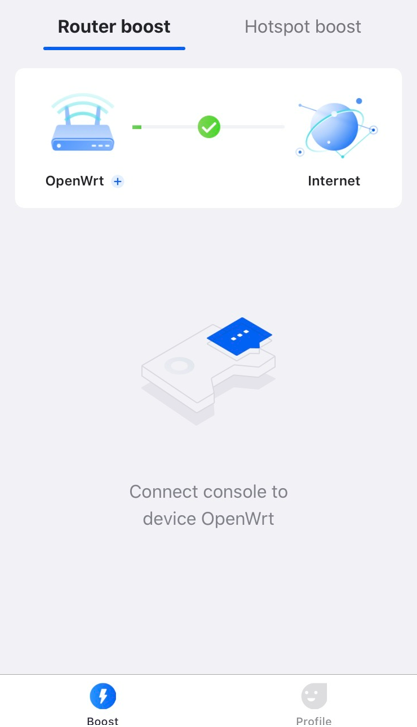
4. You will observe that the router is now successfully bound, click on the "Boost" button.

5. Upon a successful installation, you will be automatically directed back to the App homepage.

The End