How to Fix Destiny 2 Marmot Error Code
Destiny 2, even after 10 years of operation, still enjoys immense popularity in the gaming community. This is not just because it is developed by Bungie, but also due to its rich game content and vast world design. Moreover, its multiplayer online feature has received high praise from players.
However, amidst the accolades, some game errors trouble the players, such as the Marmot error code, which indicates that the player's game files have been corrupted, leading to the game failing to launch. Therefore, in this article, we will share how to resolve the Destiny 2 Marmot error code, as well as how to further optimize the smoothness of Destiny 2.

Different Ways to Fix Destiny 2 Marmot Error
If you are still encountering the marmot error code in Destiny 2, you may want to try the following additional options:
- Update Windows to the latest version.
- Verify your RAM and replace it if needed.
- Disable XMP.
- Use the sfc/scannow command in Command Prompt to check your system files.
- Use the chkdsk D: /f /x command in Command Prompt to check for drive issues.
- Perform a clean boot.
- Reinstall Destiny 2.
How to fix Destiny 2 Error Code Marmot on PS4/5
- To ensure you have the latest updates for Destiny 2, follow these steps: From the Home screen, select Destiny 2 , press the Options button on your controller, and choose Check for Update .
- If you're experiencing any issues, you can try clearing the console cache by following the same procedure as for Xbox consoles.
- If the problem persists, you can try entering Safe Mode by holding down the power button until you hear two beeps, then release the button. From there, select Rebuild Database .
- If all else fails, you can try deleting and reinstalling Destiny 2 to see if that resolves the issue.
What steps can be taken to resolve the Marmot error code in Destiny 2 on Xbox
- Verify for updates by navigating to the My Games & Apps menu, selecting Manage, then going to Updates, and choosing Update All.
- Restart your console.
- Clear the console cache by unplugging the power cord for approximately 5 to 6 minutes, then plugging it back in and turning on your Xbox.
- Press the Xbox button on the controller, access Settings (Devices & connections -> Blu-ray -> Persistent Storage), and choose Clear persistent storage.
- Delete Destiny 2 from your console and reinstall it.
How to Fix Destiny 2 Network Errors
After resolving the Marmot error, you might still encounter various network errors in Destiny 2. Given that the game primarily focuses on multiplayer online gameplay, network errors can significantly affect the gaming experience. To avoid these problems, the best solution is to use GearUP Booster.
This tool's intelligent algorithm can optimize the data transmission path for Destiny 2, ensuring a stable connection with the server, and reducing network failures caused by congestion and peak fluctuations, such as high ping, packet loss, and latency lags, thereby enhancing the game's smoothness. And all of this can be achieved with just a few simple steps.
1. Click the button below to download GearUP Booster.

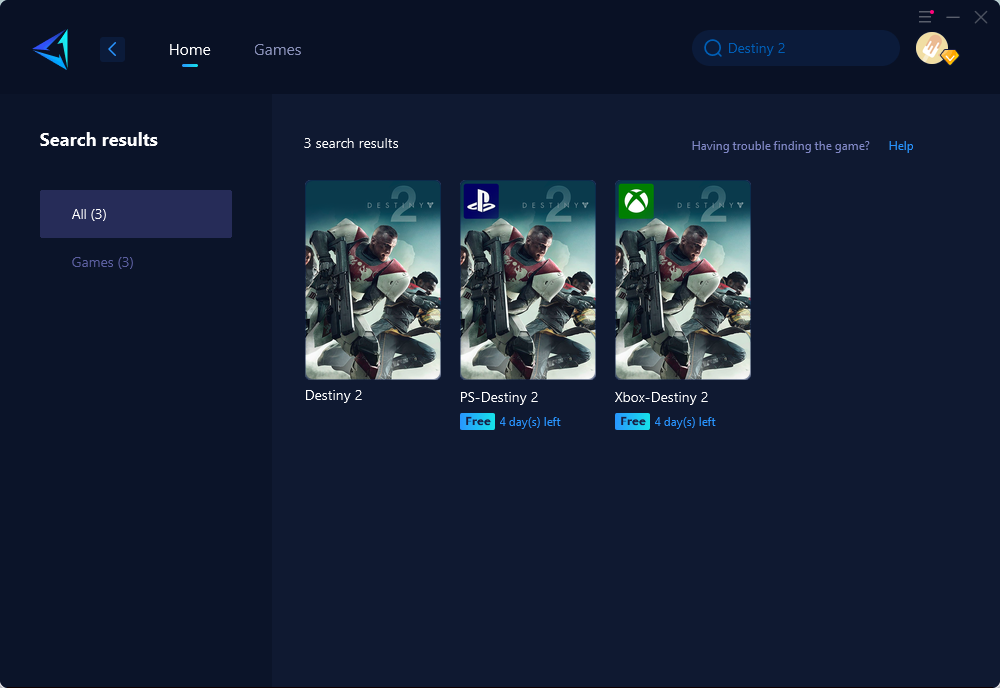
2. Search for Destiny 2.
3. Choose your server and node.

4. Click to boost first, then launch your game.
Conclusion
This article discusses the problems, specifically the Error Code: Marmot, experienced by players in Destiny 2 due to corrupted game files and how GearUP Booster can be used to resolve network issues by ensuring a stable network connection, reducing latency, and preventing packet loss. It also offers a guide on how to set up GearUP Booster for use with Destiny 2.
About The Author
Jamal Malone, a senior product specialist at GearUP, has been involved in the development and design of the PC software and HYPEREV. He is well-versed in the principles of network optimization features and is also a gaming enthusiast. Here, he will share his insights on network optimization to help players solve common issues in multiplayer online games and bring more interesting information.
The End