How to Fix Steam Deck Connection Issues
 Last updated: 7 Jul, 2026
  7 min
7 minThe Steam Deck lets users carry a large Steam game library with them wherever they go, but that portability also exposes it to a variety of network environments. At home you use a relatively stable home network, but in hotels, universities, or public places, complex authentication, restricted ports, crowded WiFi channels, and other issues can lead to various connection problems: your store may fail to load, cloud saves may not sync, and you may even be unable to log in.
Valve’s official troubleshooting guide points out that authentication protocols, WiFi frequencies, local interference, Steam service status, network ports, and ISP traffic management can all be potential causes. In this article, we will help you analyze and narrow down the scope of the problem and explain how to address Steam Deck connection issues using the GearUP plugin.
Why the Steam Deck Often Fails to Connect?
You may often wonder why your Steam Deck still experiences connection errors even when your internet is fast and you are on a stable home network. The reason is that there is not a single cause. Data leaving your Steam Deck must traverse a long network path, and a fault at any point along that path can lead to problems:
- Weak or unstable Wi-Fi signal — The Steam Deck may show a full icon, but the actual connection can still drop intermittently.
- Restricted network environment — Hotel, university, or public networks often use captive portals, blocked ports, or firewalls that prevent Steam from connecting.
- DNS resolution failure — Incorrect or slow DNS servers can prevent Steam from reaching its services.
- Steam server issues — Sometimes the problem is on Steam's end, especially during maintenance or regional outages.
- Switching between networks — Moving from one Wi-Fi to another without restarting can cause the Steam client to lose its connection session.
- IPv6 conflicts — Some networks advertise IPv6 but don't fully support it, causing connection failures when the Steam Deck tries to use it.
As a result, you may encounter various error codes, connection failure messages, and be unable to open the store or community, while your games may still run normally. That is what frustrates players, and it is why we are introducing the GearUP plugin today.
How to Restore the Steam Deck's Connection?
Start With Some Basic Checks
Before introducing the GearUP plugin, we recommend performing some basic local checks. You can:
- Connect your Steam Deck to a different network. Sometimes switching networks will restore the connection; if necessary, try a mobile hotspot.
- Completely power off the Steam Deck and then restart it to see if a temporary setting is affecting the connection.
- Confirm that your local network connection is working properly.
Install the GearUP Plugin Directly on Steam Deck
Most PC game boosters are built for Windows, but the Steam Deck runs SteamOS, a Linux-based system. GearUP solves this with a dedicated Steam Hardware Plugin that installs directly on the Deck and is controlled through the GearUP Router App.
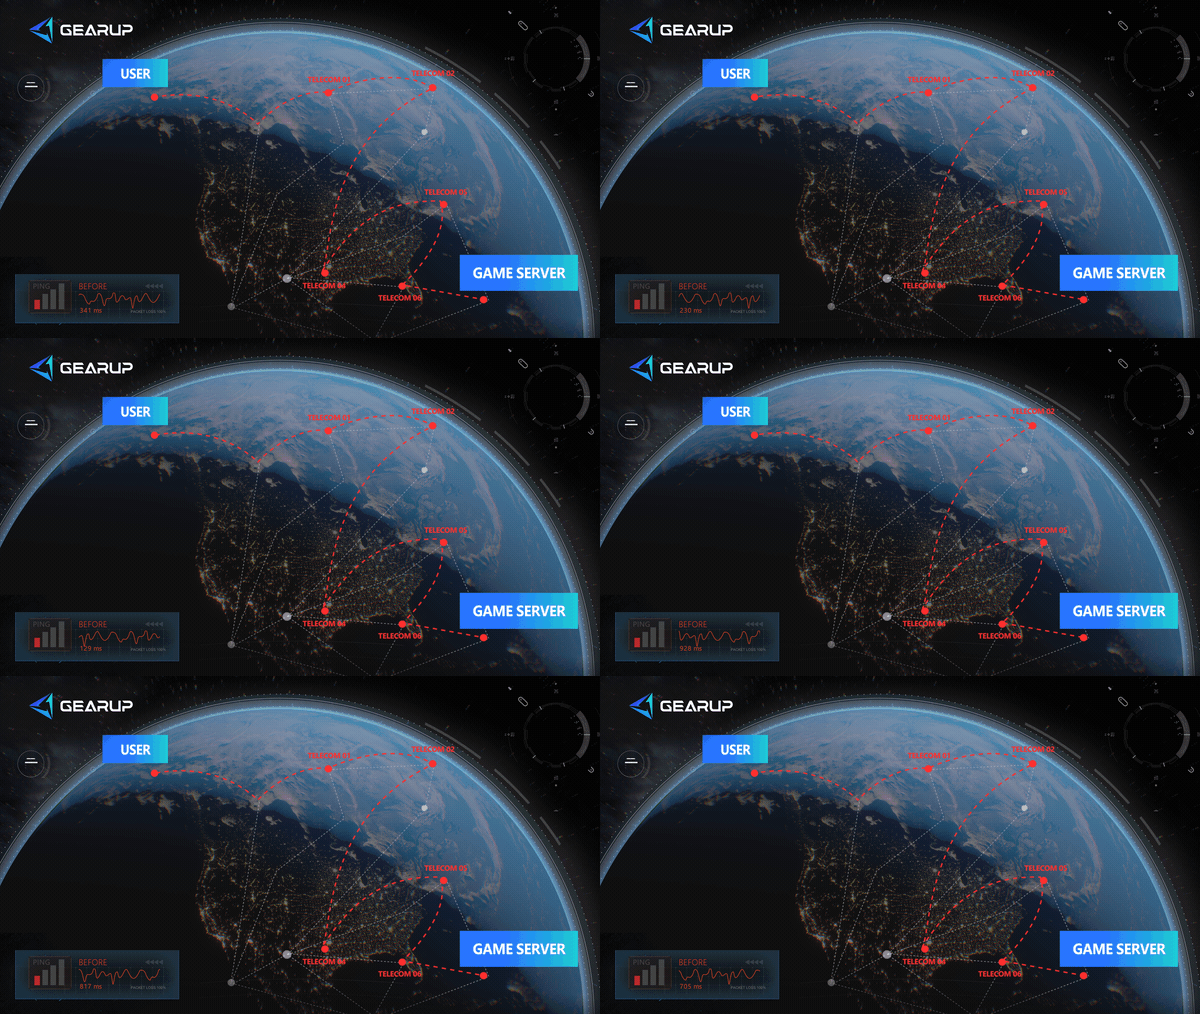
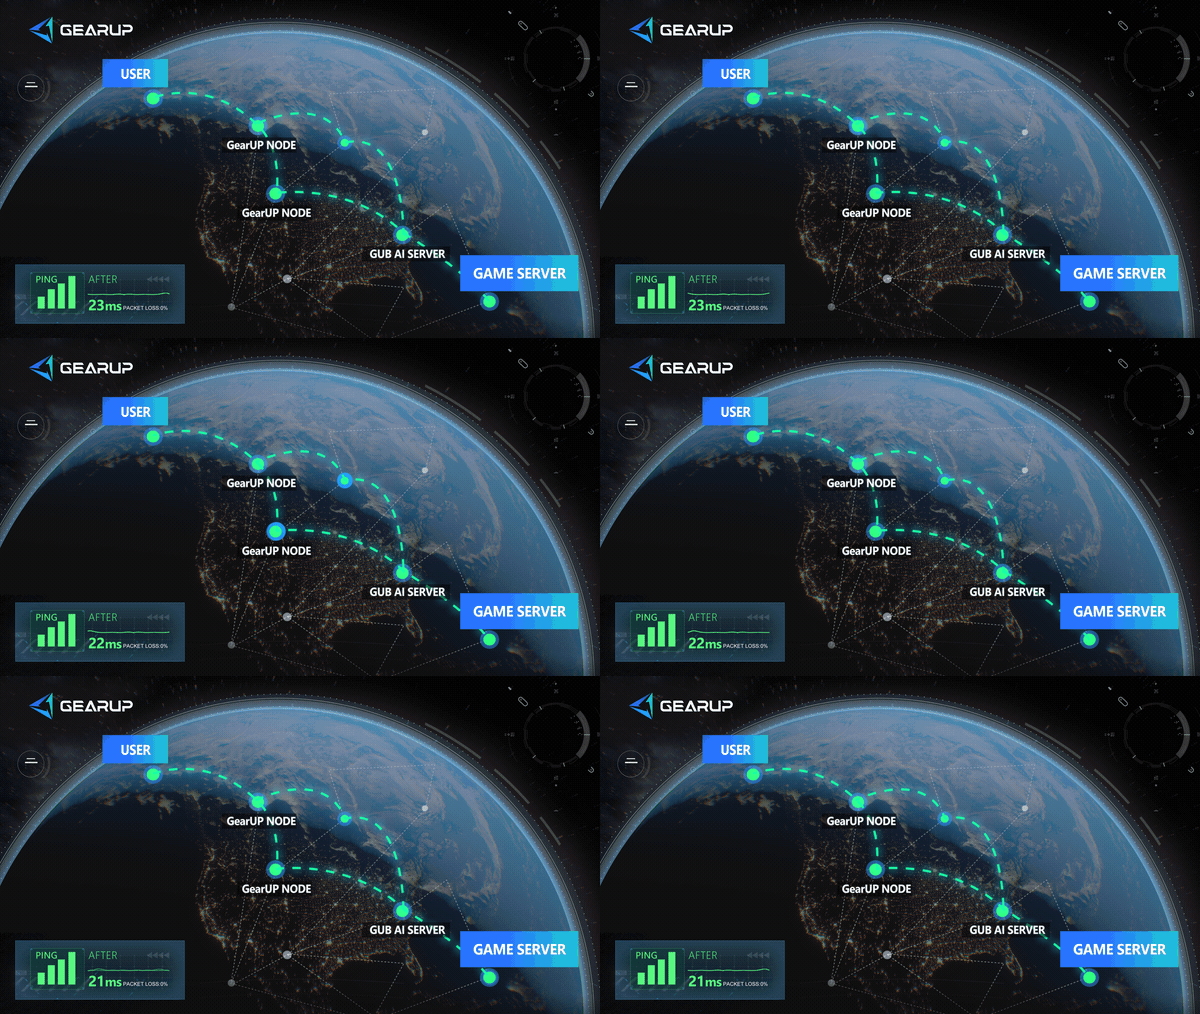
The plugin automatically detects game traffic and selects the best route based on the game, target server, and current network conditions. It's especially helpful for unstable ISP routing, cross-region connections, game latency, and packet loss that persist even when your local Wi-Fi is fine.
The benefits of the GearUP plugin are obvious:
- The network your Steam Deck connects to is not fixed, but because the GearUP plugin runs on the device, it can be used wherever you are
- Provides connection optimization for servers worldwide
- Install once; simple and easy to use
- Does not affect the Steam Deck’s performance
The installation may require a command-line step as shown in the app. These commands only install the plugin and do not access personal data or your Steam account. Always follow the instructions in the GearUP Router App and avoid using commands from unofficial sources.
You can also join our discussion group about the GearUP Steam hardware plugin:https://t.me/+r27k5E9JCIRkN2Q8
Connect to and Maintain a Stable Wi-Fi Network
The Steam Deck requires consistent network connectivity. Frequent switching or unstable wireless signals can easily trigger Steam client verification errors.
- Avoid switching networks frequently: When downloading games, updating the system, or playing online, do not switch between different Wi-Fi networks (e.g., living room router, bedroom extender, mobile hotspot). Frequent switching invalidates Steam's security session, directly causing -118 or -101 errors. Stay connected to a single network in a fixed location.
- Use the 5GHz Wi-Fi band: Traditional 2.4GHz Wi-Fi is easily affected by microwaves, Bluetooth devices, and neighboring signals, causing packet loss and ping spikes. Connect your Steam Deck to the 5GHz band on your router and stay as close to the router as possible.
- Disable Wi-Fi power management (best fix for stability): SteamOS enables wireless adapter power saving by default, which can put the adapter to sleep during low traffic and cause disconnections.
Steps:
- Press the Steam button on the left side of the device.
- Go to Settings → System.
- Turn on Enable Developer Mode.
- A new Developer option will appear at the bottom of the left menu. Tap it.
- Find "Enable Wi-Fi Power Management" and uncheck it to disable it.
- Restart your Steam Deck when prompted.
Avoid VPNs or Proxy Settings and Remove All Residual Configuration
VPN software or system-wide proxies running in the background (such as Clash, Mihomo, or other network tools configured in Desktop Mode) can modify system firewall and routing rules, preventing Steam Store and login servers from connecting properly in Gaming Mode.
Check Network Proxy in Gaming Mode
- Press the Steam button → Settings → Internet.
- Select your current Wi-Fi network and view its advanced properties.
- Check if a Proxy Server is configured. If any IP address or port number is set, delete or disable it and restore the default "Direct Connection."
Clean Up System Proxy and Background Software in Desktop Mode
Many proxy tools run in the background of Desktop Mode and continue intercepting traffic even after switching back to Gaming Mode.
- Press the Steam button → Power → Switch to Desktop.
- Check network settings: Click the Wi-Fi icon in the bottom-right taskbar → click the gear icon (configure network connection) → find the Proxy tab → set it to No Proxy.
- Close background software: Check the system tray in the bottom-right corner. If you see icons for Mihomo, Clash, v2ray, or similar proxy tools, right-click and select Quit. Also uncheck "Start on boot" if available.
- Once done, double-click "Return to Gaming Mode" on the desktop to switch back.
FAQ: Steam Deck Connection Issues
Q1: Why does Steam Deck show WiFi but fail to log in to Steam?
A: Possible causes include a Steam outage, blocked ports, an unfinished public WiFi login, DNS problems, or an unstable ISP route.
Q2: Does the GearUP Steam Hardware Plugin require a new router?
A: No. The plugin installs directly on Steam Deck or Steam Machine and is managed through the GearUP Router App.
Q3: Do I need to use the command line?
A: The installation may include command-line instructions because Steam Deck uses SteamOS. Follow only the steps currently displayed by the GearUP Router App.
Q4: Does the plugin always use Steam Deck resources?
A: No. GearUP states that the plugin remains silent and does not consume performance or network bandwidth when Boost is inactive.
Q5: Can one plugin boost two Steam Decks at once?
A: No. The Steam Hardware Plugin can optimize only one Steam hardware device at a time.
Conclusion
If your Steam Deck frequently fails to access servers, or if only a particular page won't open, try the lightweight optimization solution provided by the GearUP plugin. It ensures you get good optimization even when you're on the go with your Steam Deck, without being constrained by the device.
About The Author
Jamal Malone is one of GearUP's Hardware Product Specialists, specializing in gaming hardware, plugin technologies, and compatibility optimization. He contributes to the development of GearUP's hardware ecosystem, including HYPEREV and the GearUP Plugin, with a focus on improving compatibility across different devices and platforms. Through detailed yet approachable articles, Jamal helps players understand hardware configurations, plugin setup, and advanced troubleshooting, making complex technical topics easier to apply in real-world gaming environments.
The End